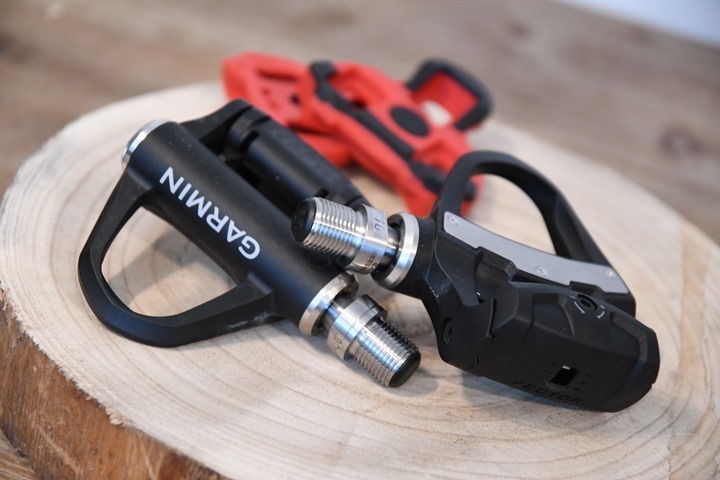
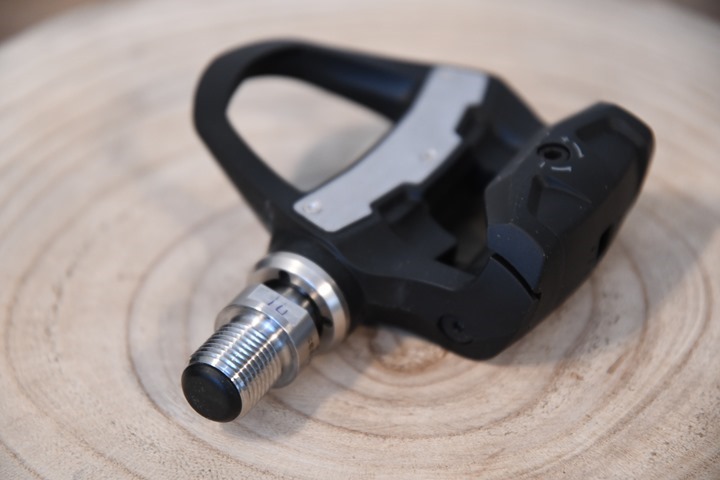
Today Garmin announced their third generation of power meters, Vector 3. This new unit brings sweeping changes both easily seen outside, but also internally as well. In fact, I’d argue the internal changes are far more important than the new pod-less design on the outside.
I’ve been riding with them for over a month now – and have a pretty good grasp on where things stand with the latest power meter to hit the market (the second power meter announced this week at Eurobike).
Given it’s a busy day here at Eurobike (and the show doesn’t even start till tomorrow), let’s dive straight away into the details.
What’s New:
This is the rare case where you can actually judge a book by its cover. Though, there’s an equal amount going on under the covers that you won’t find apparent or in any press release. First though, let’s start outside. Captain Obvious statement, the pods are gone:
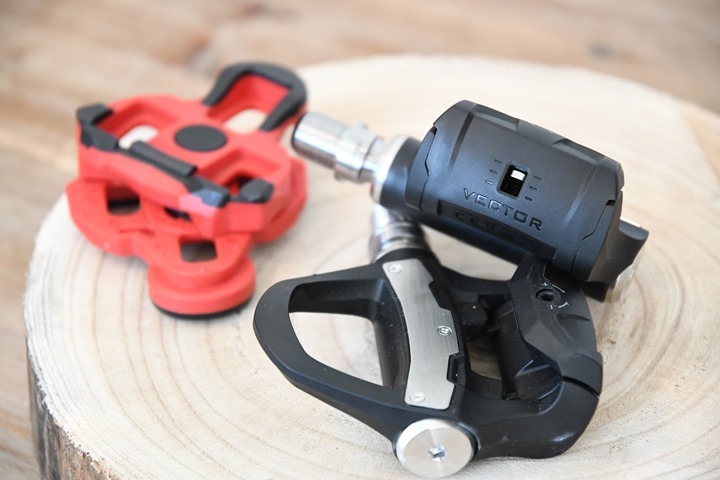
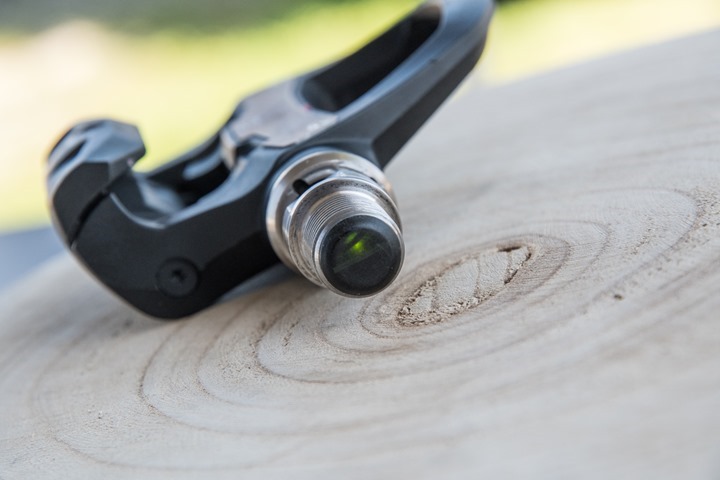
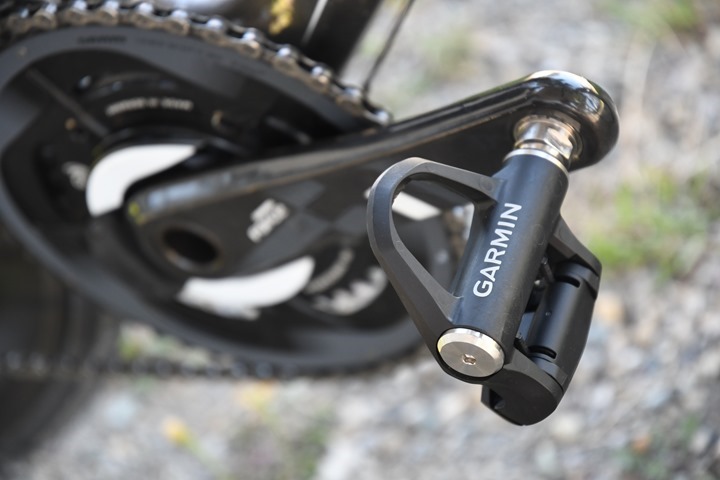
Yes, external pods that housed the battery and communications pieces have evaporated, and are now housed totally within the pedal. You can see the difference above between Vector 1/2 and Vector 3.
After that, the changes get much more subtle. In having a conference call with the Vector team, one quote at the beginning stuck out, the Vector product lead saying:
“What are the things we don’t like in the reviews currently about the pedals. What are the things that hold us back from being the best power meter, the best pedal based power meter?”
As part of that list, there was everything from the pod design, to the spindle body, to bike stores dealing with multiple SKU’s, to even the pedal body.
So to capture all those changes, here’s a bulleted list I’ve put together based on that conference call, because everyone likes bulleted lists:
– No longer using Exustar pedals: Instead they internally developed the pedal. The Vector team said that while Exustar served them well, their goal with the pedal body “aimed to be considered like Shimano & Look”. You can see the new pedal just looks really clean now – and I’d say that at least from a looks standpoint they achieved that (it’ll likely take me a year or so to find out if that’s true from a durability perspective).
– Contains Bluetooth Smart: This is used both for firmware updates, as well as connectivity to head units using Bluetooth Smart (i.e. to a Polar or Suunto watch, or Zwift on iOS, or similar). See more notes on those down in the next section.
– Elimination of pods also eliminated SKU’s: If you didn’t buy Vector you may not know there were actually multiple Vector SKU’s, based on pod sizes. This in turn meant bike shops had to stock these multiple SKU’s and try and figure out who might buy what size. Vector 3 eliminates that, there’s only one SKU.
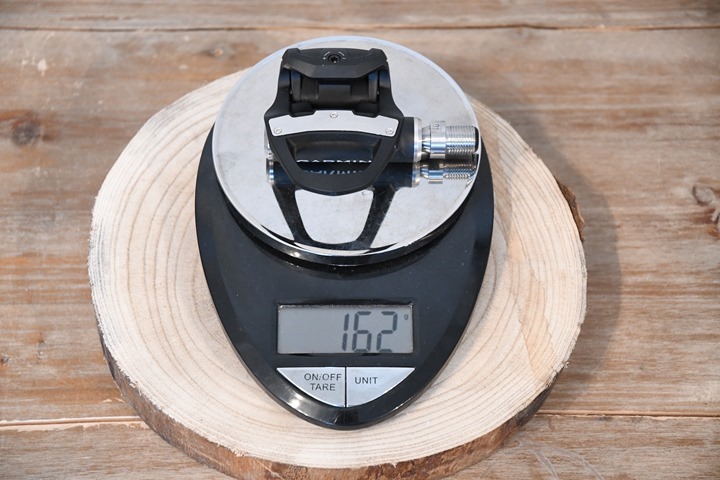
– Decreased weight: The unit now weighs 162g, versus the previous 179g.
– Changed bearing type: Previously they were bronze bearings inside, now they’re needle bearings.
– Totally different spindle body: Simply put, it’s all different both inside and out. Much of this of course is the result of changing everything else within the pedal, like the bearings.
– Increased rider weight: The certified weight is 105KG (231 lbs) for rider weight, previously it was 90KG (198 lbs). That may not sound like a lot, but that’s actually a fair bit different.
– Update pedals via phone or Edge: Previously you had to use the desktop or Edge device to update your firmware. Now you can use the Garmin Connect Mobile app to update Vector 3 firmware. That’s due to inclusion of Bluetooth Smart.
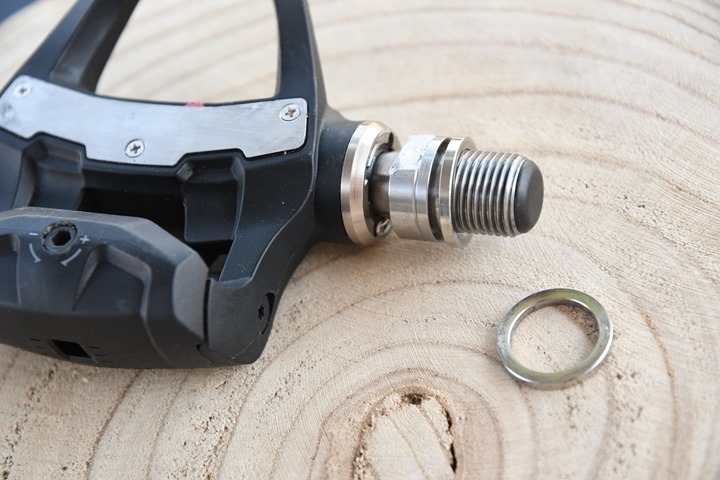
– Slight increase in spacer size: I think Garmin learned that people put too few spacers on, so you’ll notice the Vector 3 ones are a hair bit thicker so that if someone only puts one on, it’s still safe.
– Slight decrease in battery life: Previously it was 150 hours on Vector 1/2, however with Vector 3 it’s roughly in the 120 hour range with Cycling Dynamics and Bluetooth Smart enabled. If you don’t use a Cycling Dynamics capable head unit (it’s smart enough to know that now), it’ll get you closer to 150 hours again with just normal bike power. Also, they’re looking at allowing users to enable/disable the Bluetooth Smart power transmission if they want to eke out a few more hours as well.
Do keep in mind that if you first used Vector 1, a lot has changed since then. About a year after the initial Vector 1 released (but well before Vector 2), they ran through all of the hardware changes they made in the first 6-12 months internally. And of course, much of those learnings went into the totally revamped Vector 3.
Phew, got all that? Good. Let’s move onto the next section and talk through setting it up and using it out on a ride.
The Basics:
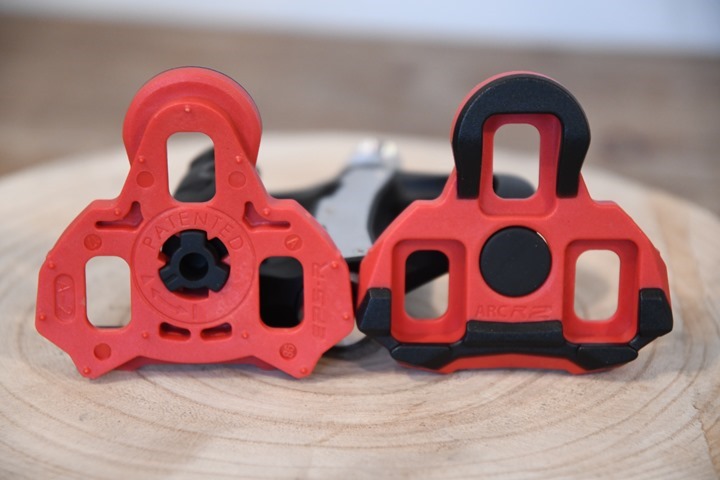
Starting with getting the unit installed, it’s as simple as taking out any pedal wrench and twisting the pedals on. You’ll want to stash a spacer in between as usual (they come with it), to ensure the pedal body doesn’t rub against the crank arm. This is the norm for all power meter pedals:
You do NOT need a torque wrench for this any more. It used to be with Vector 1 and 2 (yes, 2 also), that you needed a torque wrench to get accurate measurements. Or you at least needed to be sure that you cranked them down really hard. I showed in my original Vector review what happened if you didn’t torque to specs.
All of that’s gone now. Just wrench till it feels fine. Yes, I’m being ambiguous on purpose, because no, it hasn’t seemed to matter in my testing. I’ve tightened them to ‘barely snug’, and then gone out and done a single 4-6 seconds hard effort, and the power numbers look on-point.
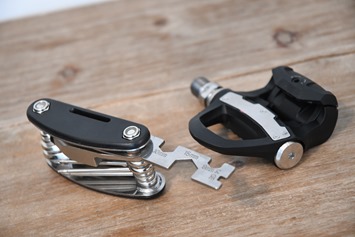
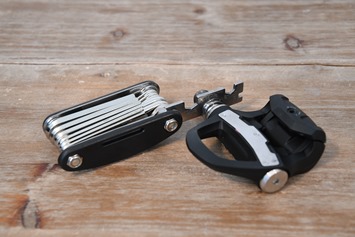
As an aside, I went on a quest to try and find a pedal wrench that would travel in carry-on luggage (most are too big for TSA/etc security rules). Astoundingly, I actually found one that will work (no knives or anything in it):
So if you want to travel carry-on with just your pedals – there ya go!
In any event, with that done you’ll notice the inside of each pedal has a small LED status indicator. This helps for everything from troubleshooting to figuring out if the batteries have died.
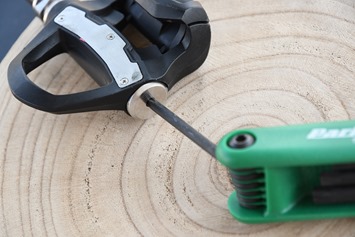
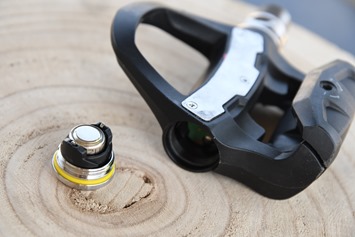
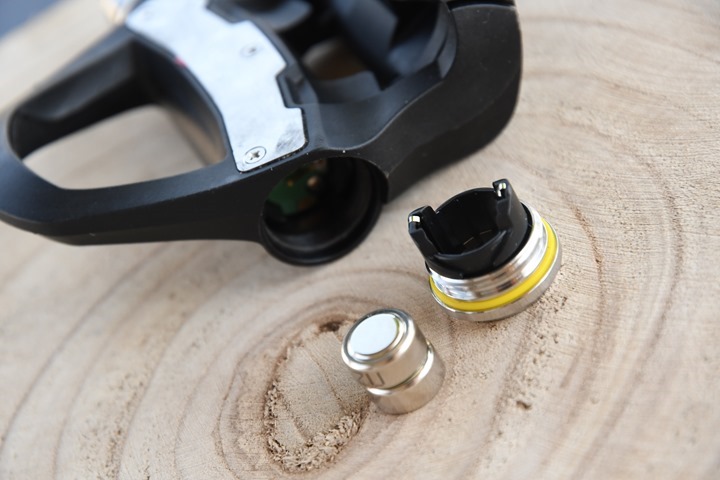
Speaking of which, those batteries are now internal to the pedal body, in a small compartment that’s accessible with a simple Allen key/hex wrench:
Sometimes getting this little cap thing back in without the batteries falling out can be tricky. Not a deal-breaker, and only an issue if you’re trying to do it when the bike itself is perfectly level (like on a trainer).
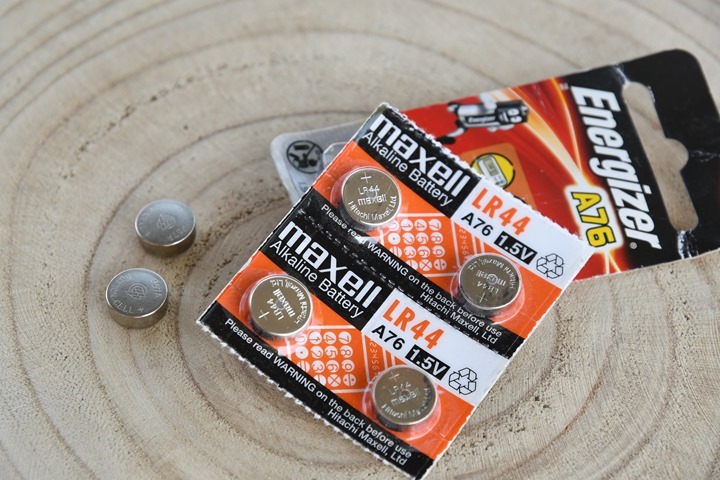
The batteries have shifted from CR2032 coin cell to LR44 coin cell batteries. Two per pedal, four in total.
Closing that back up, we’ll go ahead and pair the pedals to the Edge unit. At present I’m doing that via ANT+, though with the new Edge 1030 I could do that with Bluetooth Smart (same goes with Fenix 5 and FR935). However, the current firmware doesn’t have Bluetooth Smart power broadcasting enabled quite yet. Garmin has a target date of mid-October at the latest for this, as they want to be sure it’s available for the trainer season.
They noted that they don’t see a ton of value for existing Edge users in using Bluetooth Smart transmission over ANT+ (and I’d agree, there’s actually reasons not to use that for power meters). However, they do see value in using Bluetooth Smart to connect to apps like Zwift, TrainerRoad, and others on devices (Apple/iOS) that don’t support ANT+. Hence why Bluetooth Smart power is in Vector 3.
So why might you not want to use Bluetooth Smart with Vector 3? Well mainly you’ll get less metrics. No standard exists on the Bluetooth Smart side for Pedal Smoothness, Torque Efficiency, or the whole of the Cycling Dynamics suite. Of course – one can argue all day long whether any of those metrics are useful – but if you’re paying for Vector 3 over others, you might as well at least record those things. Someday someone might figure out how to use them.
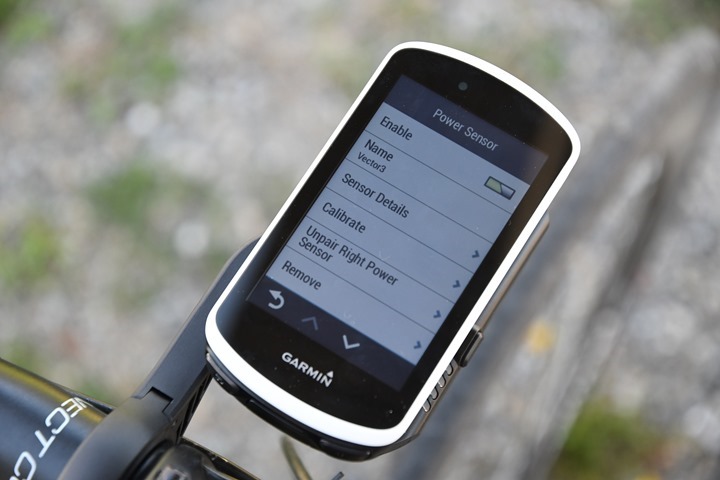
Back to pairing though. It’ll show up on your Edge unit like any other ANT+ power meter. In this case, I’m using the Edge 1030…simply…because.
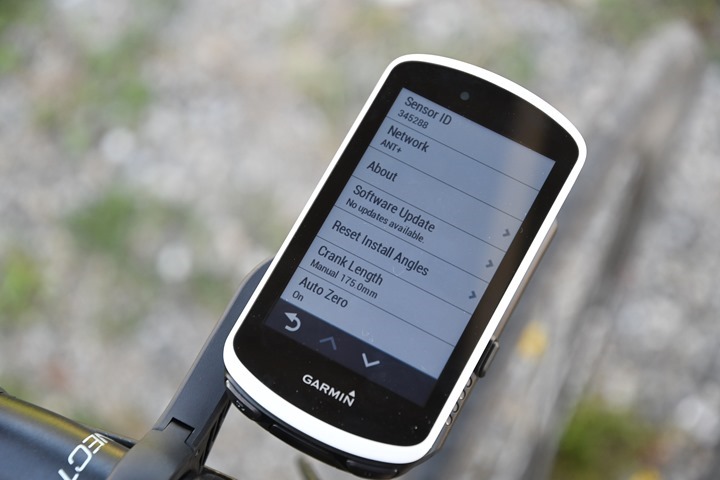
As always with pedal based power meters, you’ll want to set your crank length. In my case that’s shifting from the default 172.5mm to 175mm.
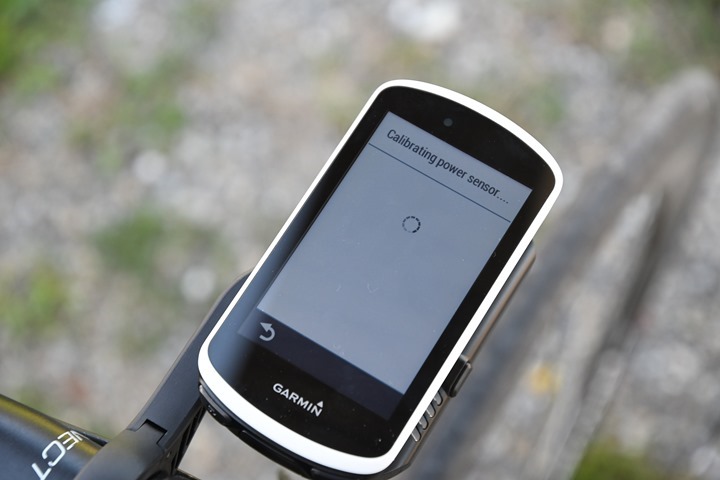
I like to do a zero offset at this juncture. You’ll do that via the calibrate button:
With that done – you head out and ride. I typically do 1-2 very short (4-8 second long) sprints with any new power meter on the first ride, but especially pedal based ones. This helps tighten things up. I then do another zero offset, mostly out of habit. At which point, I’m ready to roll.
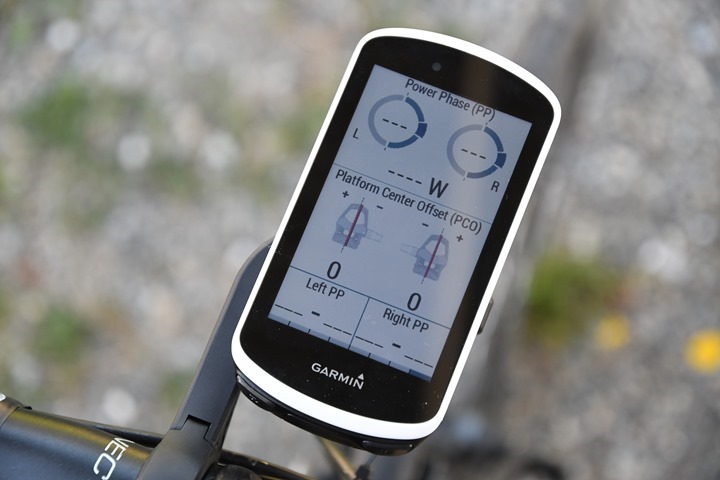
While riding you’ll get all your normal power meter metrics like total power, power balance, and cadence. You’ll also get all of the Cycling Dynamics details too. This includes things like platform center offset, seated/standing time, and so on. These can be individually picked up and added to data fields, and grouped onto a single Cycling Dynamics page:
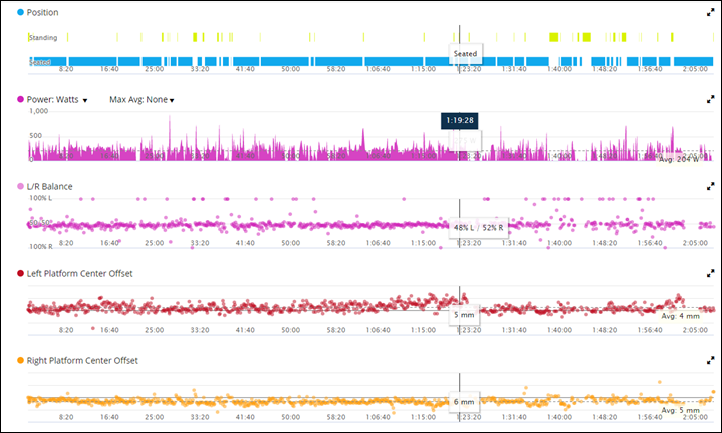
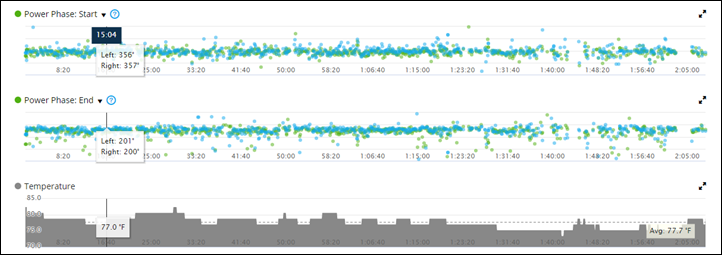
And finally, afterwards you’ll get these same metrics on a portion of Garmin Connect (here’s a link if you want to look at it):
Here’s another indoor ride if you want to check that out too.
As you can see, everything is simple and straightforward. If you can use a hex wrench twice, you can pretty much use these pedals.
Initial Accuracy Tests:
Now I actually flip-flopped a fair bit on whether to have this be a full in-depth review, or just a first look/hands-on. Ultimately though, I decided on hands-on since I don’t yet have final hardware – and the final hardware I should receive in a few hours or so fixes a couple minor issues I saw in testing.
Still, I’ve got a boatload of rides on it – since late July I’ve been alternating rides between this and other units. The degree of careful I’ve had to be with all my photos over the past month or so has been nuts! Every Instagram and Strava pic ever so carefully cropped!
In any event, I’ve been comparing/testing it against a variety of other power meters, including:
4iiii Dual
Power2Max NG
Power2Max NG ECO
PowerTap G3
Stages (left-only)
Elite Direto Trainer
Tacx NEO Trainer
Wahoo KICKR Trainer
Wahoo KICKR SNAP Trainer
And, I’m probably forgetting something else too. But yeah, a lot of rides with a lot of variety.
And overall – things are really strong. I’ve experienced only a single spike – once – on a firmware just shy of a month old. Garmin says they’ve fixed conditions that could have led to that power spike in a firmware update that I received a few weeks ago, and I haven’t seen any other spikes. Also, I’ve made a very specific point of swapping the living crap out of these pedals between bikes and even back to the same bike – all without a torque wrench. I’ve never used a torque wrench in any of my Vector 3 tests. Just did it ’til it felt normal-snug.
In any case, let’s look at some data.
First is an outdoor ride I did. After doing some warm-up loops, I crossed the city – complete with cobblestones, followed by loops at a popular spot for cyclists, and then returning again across the city. I mostly went out of my way to find rough spots of road. Here’s the DCR Analyzer link for those that want to dig into the data themselves.
In this case, I’m comparing data against the 4iiii Precision (dual), as well as the PowerTap G3 hub. I’m also dual-recording the Vector on both the Edge and the FR935, to validate those numbers match.
Let’s dive into a few of the sprints, starting with this one.
As you can see, all the units track really nicely here. I’m seeing a little bit of separation between the 4iiii dual Precision prior to this sprint, but it seems to stabilize after.
Here’s another sprint – the same thing – all units come to almost exactly the same point. Note that as usual with max sprint power figures, you’re going to get a slight bit of difference on timing, due to the way head units and power meters transmit. So you’ll see they differ within 1-second, but get to that same point regardless.
If we crack open some cadence data from this ride, you’ll see things are very consistent here. All are within 1RPM at virtually all times, save the PowerTap G3 hub. But since that’s estimated cadence, we know it varies a little bit more, especially if you back off power briefly.
Finally, a glance at the mean-max graph for this set…which looks really solid. Note you do see a slight dip on the graph for the 4iiii unit, which is totally my fault when I accidentally paused it in traffic for about 2 minutes. Since there weren’t any sprints there it’s barely noticeable on the mean-max graph.
Next, let’s head inside for an indoor ride. Here’s the DCR Analyzer link for that. This one includes the Wahoo KICKR as well as the Power2Max NG ECO power meter.
As you can see, I was just sorta cruising along on the trainer here for much of it – not a super hard workout. But I was specifically looking at whether or not there was any drift in the unit – and doing something like this makes it really easy to see.
Let’s dive into that sprint at the end though, as that’s the fun part.
Here you see a bit of a spread of about 23w in total on 915w (so 2.5%). That’s somewhat normal, though in this particular case I might have expected to see the Vector unit on the upper end of this, given the way power loss works. Either way, for total accuracy we’re within range of the combined unit accuracy ratings.
I did a couple more smaller surges after this point, and you can see things are pretty darn similar:
Some slight reaction time differences of a second or so between different units, but basically all coming to the same numbers each time.
As you can see though – overall things look pretty good. But since this is pre-prod hardware I’m interested in doing a bunch of riding over the next month on the final hardware to see if that holds true. And of course, I’ll stack in a bunch more data as well for that final in-depth review.
Wrap-Up:
As noted, while I’m technically on beta hardware, overall things are looking very solid. This is basically the Vector that everyone wanted years ago before technical limitations came into play (aka: Reality). It’s small, lightweight, and transmits on ANT+ & Bluetooth Smart. It doesn’t require a torque wrench, nor does it have pods floating off the side.
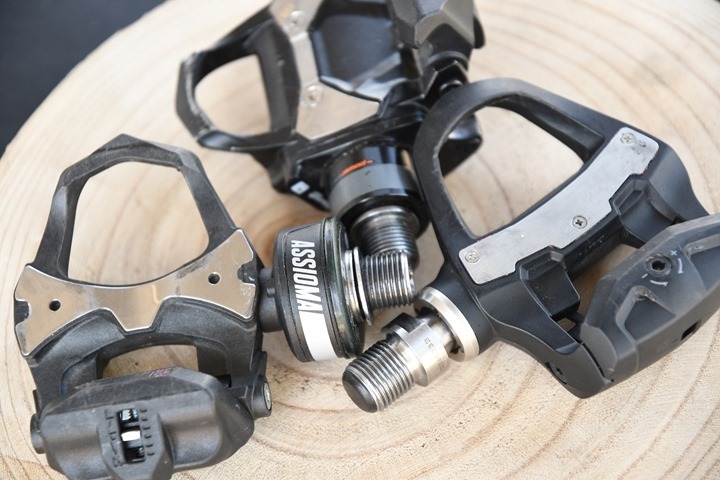
So what are the downsides? Well, mainly just price I suppose. I’m concurrently working on finishing up writing my Favero Assioma pedals review, and that unit is really solid when it comes to accuracy. But it’s not so much the accuracy that’s attractive there – it’s the price: $735USD. Whereas Vector sits at $999USD. Meanwhile, the PowerTap P1 pedals have instantly priced themselves out of the game at $1,199USD (though, I suspect that’ll shift quickly). Note they are also selling the usual ‘S’ variant of Vector (Vector 3S), which is a left-only solution and down to $599USD.
Looking at those three pedals though, the Garmin unit is easily the slimmest of the bunch, and the one that looks the most like a regular pedal. At the same time, the PowerTap P1 has been in the market about two years, so it’s more of a known quantity. And Favero has been out about a month – and things look pretty solid there. Said differently: It’s a really interesting three-way race for pedal-based power meters.
Right now the plan is for units to start shipping in late September, so I’ll probably aim for a full in-depth review around then based on final production hardware and software.
With that – thanks for reading, and feel free to drop any questions below!
—
Update: You can now pre-order Vector 3 (or 3S). If you use the links here via Clever Training you’ll be able to earn 10% points via the DCR/CT VIP program, plus free US shipping. It’s expected to ship in late September.


